Shh! Just kiss me

img_4440

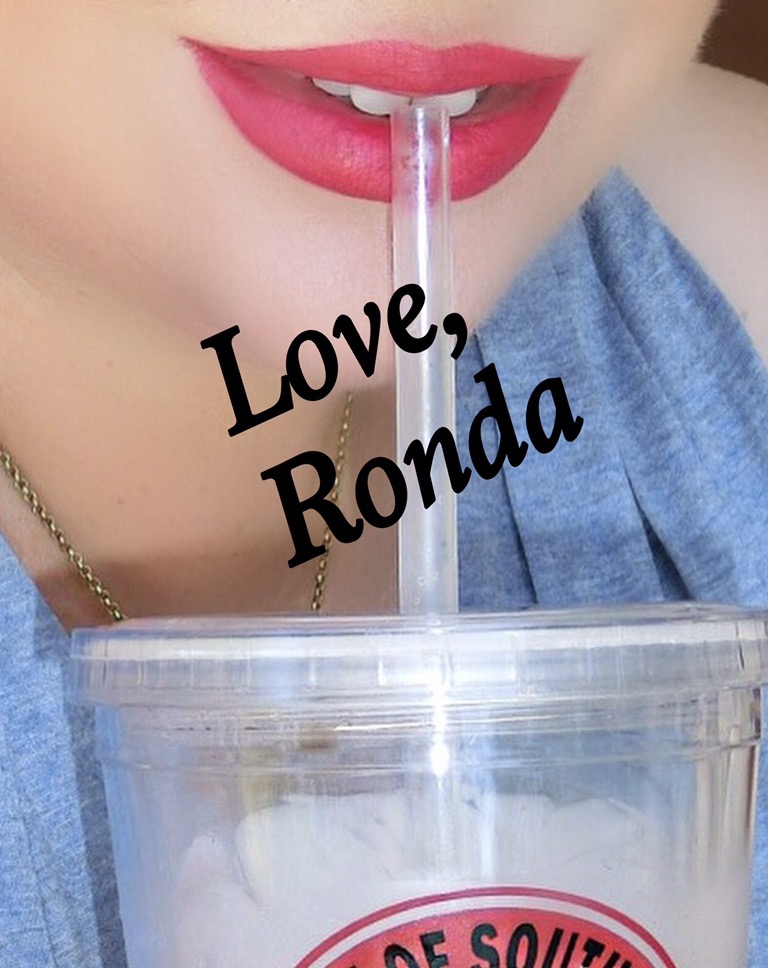
Let’s talk about lips. Why? Because over on Instagram, where I post daily makeup and lipstick looks, I get a lot of questions about my lips. I’d say questions about my skin-care routine come first, followed by questions about my pucker.

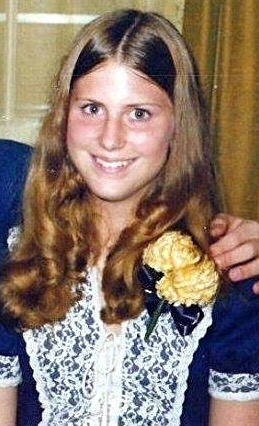
I never thought much about my lips, at least until about 8th grade. I was at a slumber party when Cindy Astin suddenly blurted, “Don’t you think Ronda has perfect lips?” Therein followed a lengthy discussion of what constitutes good lips, with the general consensus that mine, indeed, were high on the shapely scale. (Notable abstainers were Lucia Cimarusti and Laura LoCicero, the mean girls of Evelyn Carr Elementary, who believed if anything was perfect, it surely belonged to them.)

My first real boyfriend — the first boy I ever kissed — thought I was comely in general, but had a special affection for my lips. Nearly 40 years later, he said my lips remained the prettiest he’d kissed. This may or may not be true: It comes from a man who’s locked lips with well over his share of women. I suspect it’s  a line he uses with all the ladies.

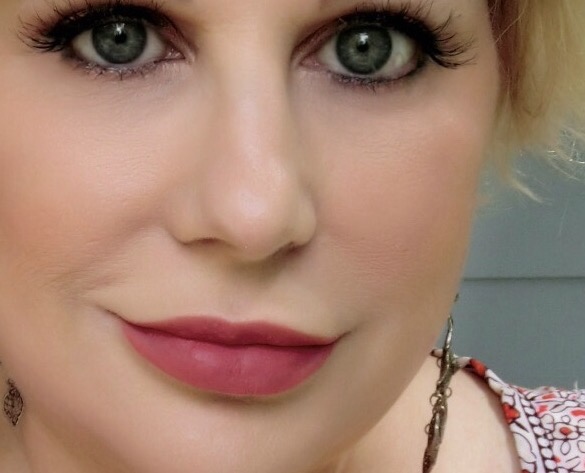
But what do the people who really know lips, and by that I mean professionals who plump lips for a living, have to say? Well, they uniformly tell me never to inject anything into my upper lip, because I apparently have desirable natural projection and a nice Cupid’s bow. My bottom lip is naturally plump, but flawed. The left side is slightly fuller and larger than the right, which drives me nuts when I wear dark or bright lipstick. To avoid the aggravation of using lip liner to underdraw the left side or overdraw the right, I have a small amount of filler injected on the right side once or twice per year. And because I like to look pleasant in repose, I have a tiny amount (very, very tiny) injected right at the corners of my lips to keep them from turning down.

Speaking of lip liner, I rarely use it. Frankly, I have a hard time getting the lines exactly straight. Also, I don’t like the effect of lip liner that doesn’t precisely match my lipstick itself, so when I do line my lips, I use matching liner and lipstick. I know some women like to overdraw their lips to make them look larger. I don’t. I think my lip size is just fine; when I overdraw them they look unnatural and bizarrely large — at least to me.

So, for those who ask me how I do my lips: It’s pretty basic. I apply cream and satin lipsticks straight from the tube. To get the edges straight when I go awry, I put a bit of concealer on a tiny brush or Q-Tip and carefully run it around the lip rim. I use a lot of liquid lipsticks because the wand gives me greater placement control. I also am a huge fan of lipstick crayons. Again, I run concealer around the edges to hide any bobbles.

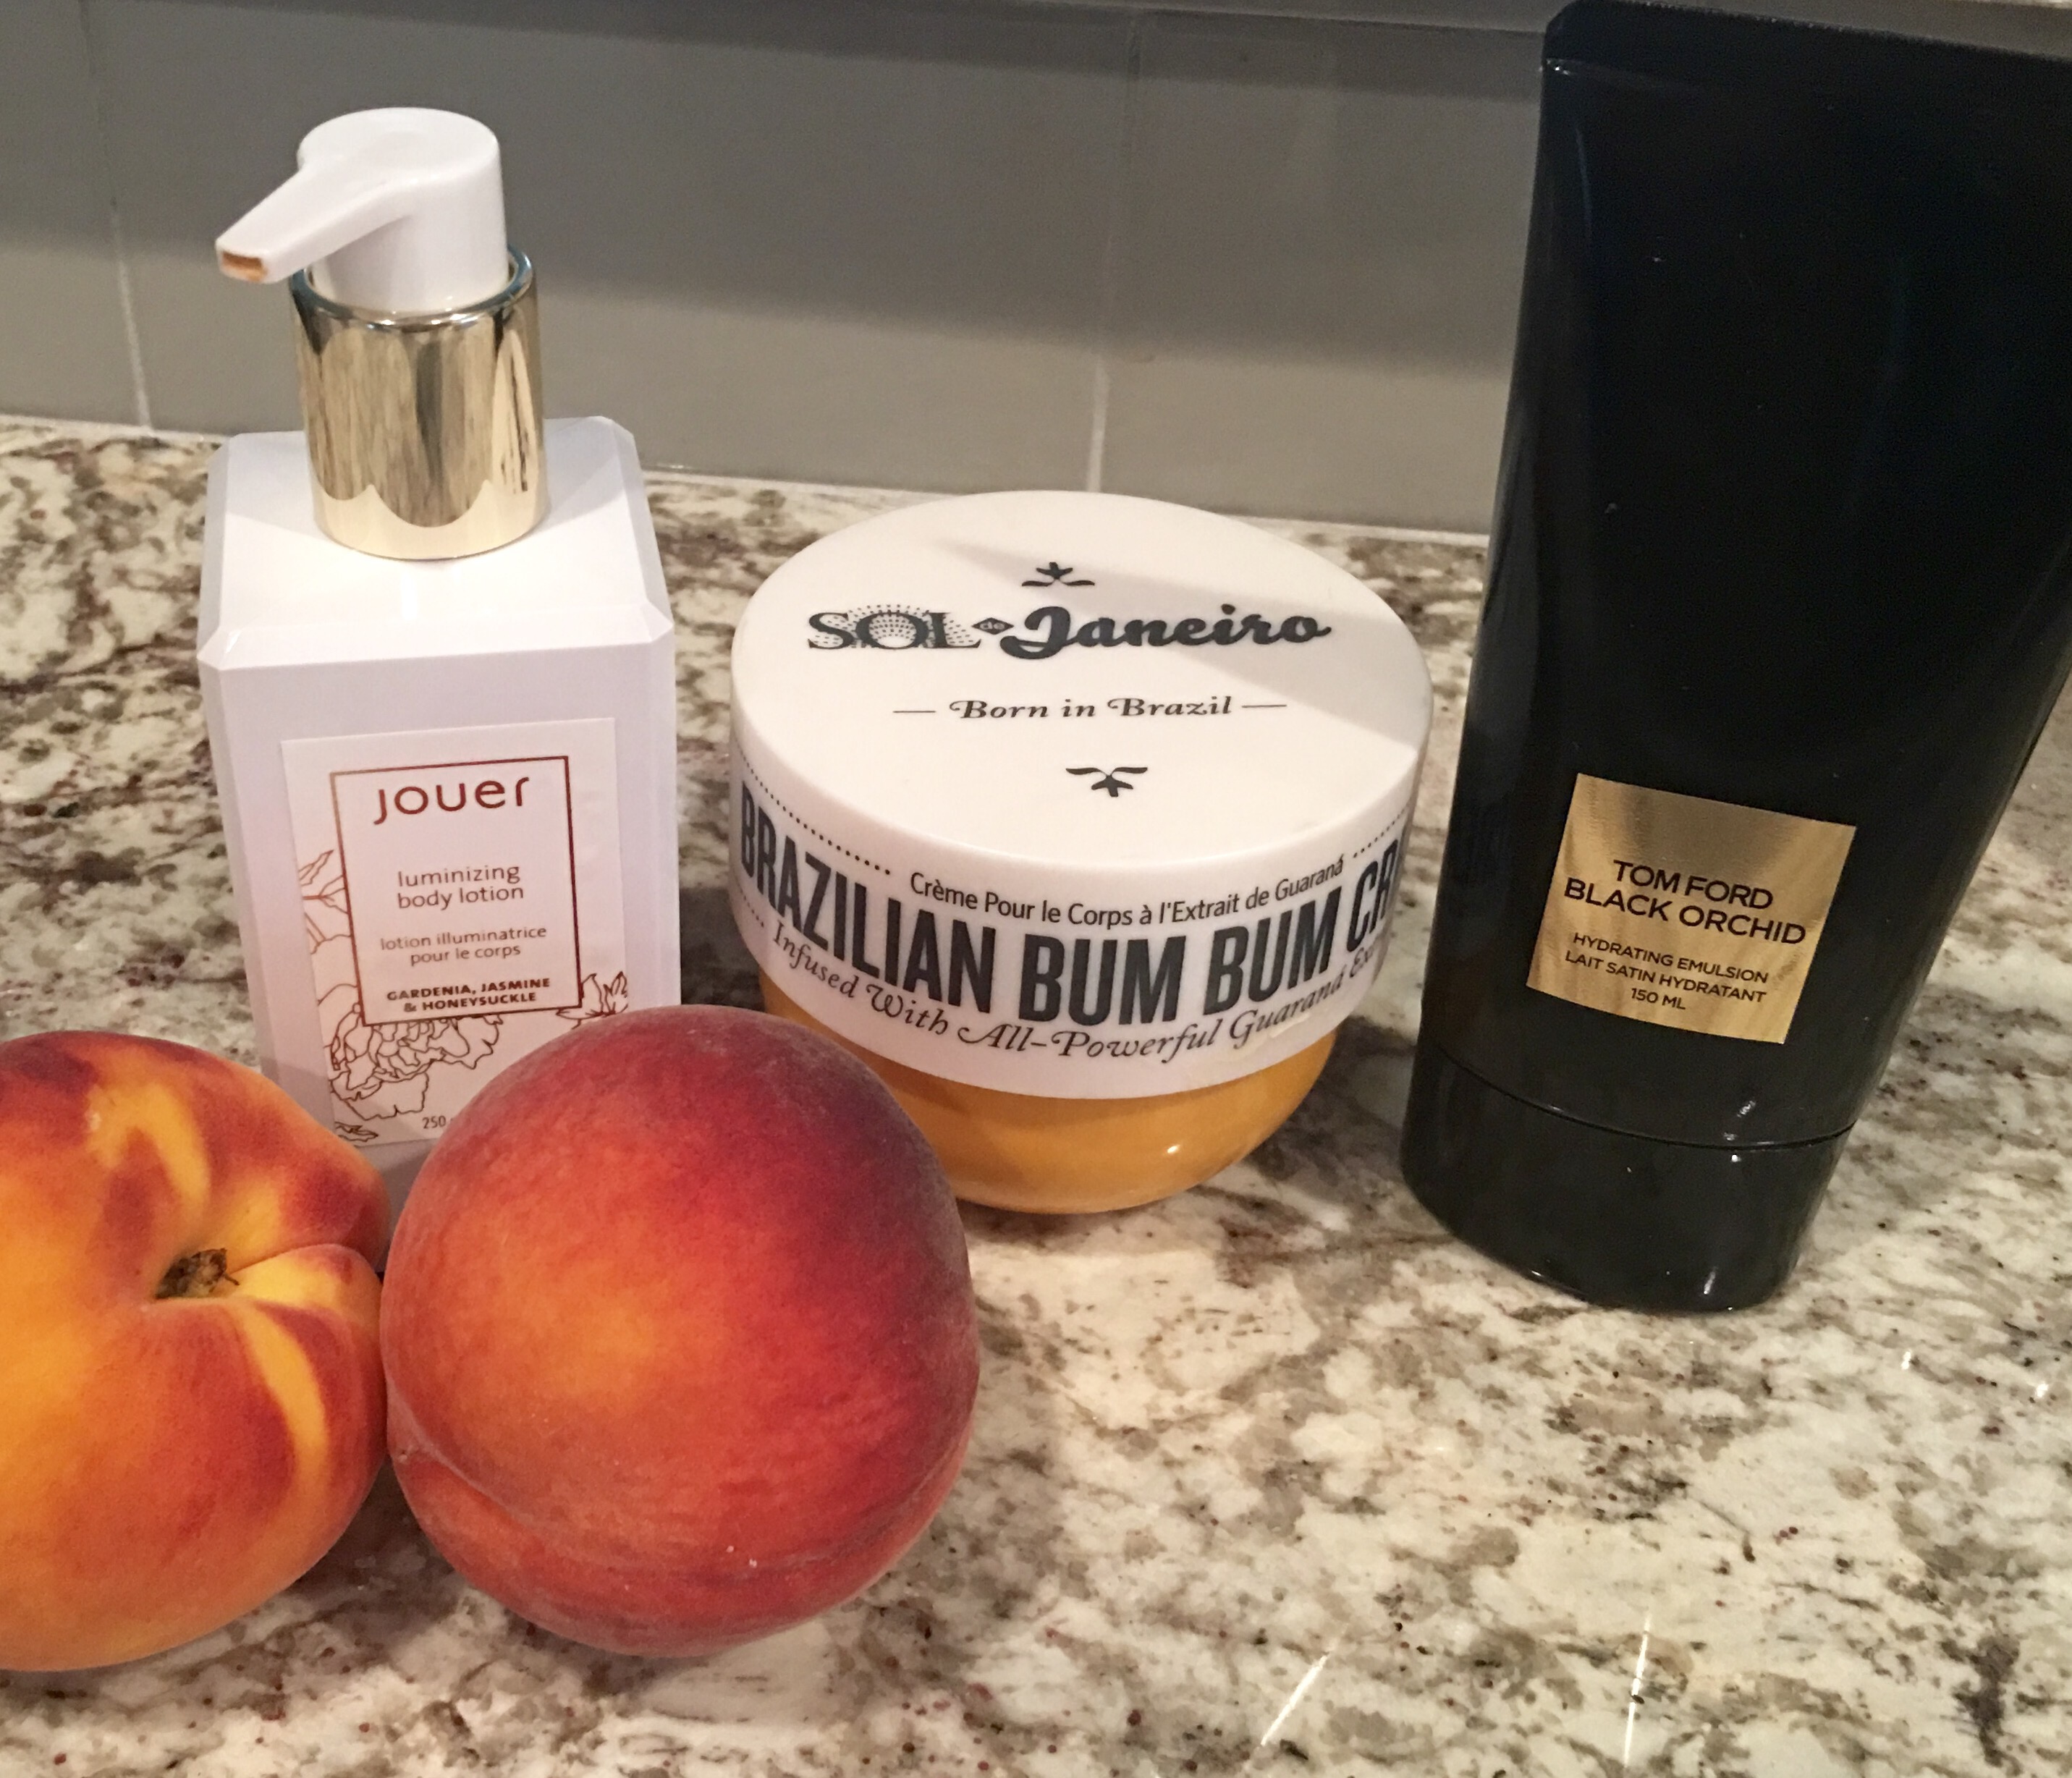
Finally, when it comes to lipstick, I’m a big fan of brights — corals, pinks and reds. I will wear a deep plum or wine on occasion, but I don’t think they’re the most flattering on me. At my age, I stay away from trendy colors, such as the blues, greens, browns, grays and black-reds the younger set is wearing. In general, though, I encourage women to (1) try lots of different lipstick shades and don’t get stuck in a rut and (2) to take good care of their lips by exfoliating and moisturizing them every day. A few more tips to remember:

  • If you have very thin lips, dark shades can make them appear thinner.
  • Shiny lips appear larger. Although matte shades are in, thinner-lipped women (and men) should choose formulas with a bit of sheen or finish with lip gloss.
  • Check your lips throughout the day to make sure your lipstick is intact. Lipstick that’s worn off in the center, leaving a dark outer ring, is distracting. And not in a good way.
  • Remember that shades with orange casts can make teeth look yellow. Pinks and reds with blue undertones make them appear whiter.
  • Wearing a great shade? Smile. A lot. Put your lips to work for you!

Medical emergencies and makeup bags

Hospital vigil, Day 3 

Friday morning, I was at the Columbia, S.C., airport bright and early. I sat waiting for my flight to Dallas, a neatly packed carry-on bag at my side. Inside were the clothes, cosmetics and sundries needed for a weekend in Dallas, where my husband and I planned to attend wedding festivities.

My spouse and I work in different cities, so he was making the trip by car from San Antonio, Texas. Just as I was about to board the Dallas-bound flight, my cell phone rang. It was my husband, telling me he was turning around and going back to San Antonio because he’d gotten a call every parent dreads: Our son was in a coma after his car collided head-on with a pickup truck.

I grabbed my bag and headed for the Delta ticket counter, where a kind agent quickly put me en route to San Antonio. That, as I mentioned, was Friday morning. As I write this on Monday afternoon, my husband and I are sitting on a sofa in our son’s room in the ICU. We hope he’ll be moved to Acute Care today and are grateful that doctors think he’ll fully recover from a frightening head injury and multiple broken ribs, along with an alarming number of cuts and bruises.

Meanwhile, most of the items I packed for the parties and wedding remain unused in my suitcase. Fortunately, the two casual sundresses I packed were useful for an unexpected hospital vigil. Unfortunately, the two pairs of fancy, high-heeled sandals were not. I dug out a pair of college-logo flip flops I’d left in San Antonio and have worn them with everything, whether they match or not. As for the contents of my makeup bag: high marks for me. Here are the products I had with me, which turned out to be perfect for this unexpected, awful few days:

  • Stila Aqua Glow Foundation and Cover FX Custom Color Drops. I’m not a huge fan of super luminous foundations because they don’t particularly flatter my aging skin. I do, however, like the gentle sheen I get by mixing a glowy foundation with a drop or two of the saturated, matte color drops. This turned out to be a great combo for a hospital campout. I’m exhausted, but the luminosity camouflages some of the weariness in my face.
  • Tarte Tartelette in Bloom and Lorac Pro Metal palettes. The In Bloom palette contains mostly neutral shades in a combination of matte and metallic finishes. The travel-friendly Pro Metal palette features a variety of shades – such as rose gold, amber and clover – that play nicely with the Tarte palette’s neutral tones.
  • Too many lipsticks that turned out not to be too many. My weakness when packing is that I include far more lipsticks than I actually need. This time was no different, but I ended up being glad I had choices. I wore muted pinks and nudes for a couple of days, but switched to something brighter to give my face life after tiredness set in.
  • Becca X Jaclyn Hill Champagne Collection Face Palette. With three blushes – one of which I instead use as a bronzer – and two highlight shades, it’s the perfect all-in-one cheek palette.

If you’re planning a trip – one that’s less stressful than mine turned out to be – consider lightening your luggage load by packing some of the items I mentioned. I didn’t include a lot of cosmetics, but the ones I did bring along turned out to be life-savers. Or perhaps face-savers.

“One Lovely Blog” award

Hello, everyone! I’m so honored that the talented Laura of the blog Looking Joli Good nominated me for the “One Lovely Blog” award. Please be sure to check out Laura’s blog — she’s always posting new and intriguing content. She’s much more disciplined about it than I am.

img_8660
Here are the “One Lovely Blog” rules:

  • Thank the blogger who nominated you and link back to them.
  • Share 7-15 facts about yourself.
  • Nominate 9-15 bloggers you admire and contact them to let them know.


Facts about me: 

  • I love backyard birds and am constantly refilling my feeders.
  • I have three lovely indoor cats and also feed a couple of feline neighborhood wanderers. After dark, a posse of raccoons visits my back deck to nibble on cat food, as does a very sweet and shy possum.
  • I recently started taking weekly tap and ballet/stretch classes. So much fun!
  • I’ve lost 46 pounds since February and want to lose 35 more.
  • When I was a reporter, I interviewed four presidents: Reagan, Ford and both Bushes. I also interviewed three first ladies: Barbara Bush, Nancy Reagan and Betty Ford.
  • My husband and I worked at competing newspapers. We met at the scene of a stabbing.
  • I first got interested in makeup and skin care when I was undergoing chemotherapy for breast cancer. Chemo makes you look tired and dries out your skin. I didn’t want to look ill.
  • I have been to 18 Rolling Stones concerts, but my first concert was the Osmond Brothers. My dad took my friend Debby Carter and me to see them at the Los Angeles Forum. He says it was one of his most generous acts of fatherhood.
  • Two places I want to go before I die: the Greek Islands and Portofino, Italy.
  • My hair has been brown, red and platinum and lots of colors in between. Golden blonde works best.
  • I’m a proud University of South Carolina Gamecock and I’m pretty sure the Chicken Curse is real, at least as far as the football team goes.
  • I was the reporter who broke the “Ozzy Osbourne Urinates on the Alamo” story. He was a hilarious interview. Sharon was intimidating.
  • I believe having a few close, loyal friends is better than having a lot of semi friends. I love my girlfriends Kelly, Nikki and Diane from high school; my sister, Allison; and my college roommate and lifetime co-conspirator, Jill.

These are some of the bloggers I enjoy, in no particular order. Check them out and give them some love:

Thanks again to Laura for nominating me. Remember: If you have a passion, blog about it!

img_8949-1

See me, feel me, touch me, heal me

Get more touchable, desirable skin with a great body lotion or cream

We can be pretty certain The Who didn’t have body lotion in mind when the rock opera “Tommy” was composed in 1969. Certainly, though, some of the opera’s most recognizable lyrics — “see me, feel me, touch me, heal me” — can all be applied to the luxe lotions that make skin more touchable and feelable while increasing its health and beauty.

Some people aren’t into body lotion, believing it’s just one more time-consuming element to add to their beauty routines. I happen to like the way my body feels, looks and smells after I apply lotion. Right now, I’m alternating between three gorgeous products. Two I’ve never shared on this blog. The third is my absolute, holy grail, body-lotion-of-body-lotions; the one I hope to never be without.

  • First up is a new entry that I’ve been using for just a few weeks: Jouer’s Luminizing Body Lotion. In addition to moisturizing the skin with avocado oil, jojoba oil and green tea extract, it contains light-reflecting particles that give your skin a pretty but not-over-the-top glow. What’s more, it smells lovely thanks to a mixture of honeysuckle, gardenia and jasmine. It’s not the most moisturizing formula ever, but the glow and scent put it in my top three.
  • Tom Ford is known for luxury scents, so it’s no surprise that his Black Orchid Hydrating Emulsion is a whiff of the divine. This product is sultry, sexy, dark and alluring — a true winner for an evening event or date night. Not only does it make your skin feel beautiful to the touch, but the scent is long lasting and memorable thanks to a blend of black truffle, black orchid, black plum, noir gourmand accord and patchouli.
  • Finally, my absolute dream of a body lotion: Brazilian Bum Bum Cream by Sol de Janeiro. Yes, it’s an odd name, but that’s because it’s a moisturizing and tightening lotion that Brazilian women use to perk up and smooth their world-famous derrières. The tightening is due to the presence of guarana, an Amazonian plant high in caffeine. The moisturizing factor comes from cupuaçu butter, açaí and coconut oil. The company describes the cream’s scent as pistachio caramel, but I describe it as heaven. I don’t wear perfume when I apply BBBC because I don’t want anything to dilute that gorgeous fragrance. I’d seriously buy a cologne version. (Note: I’m wearing BBBC today. Not only does my skin feel silky-smooth, but I’ve paused several times while writing to breathe in the scent. I smell gorgeous, darlings!)

Summer can be tough on skin, thanks to the sun, swimming pools, sand and outdoor activities. That means it’s essential to keep it moisturized. It will be more touchable, feelable, healthy and beautiful with the help of a great body lotion or cream. Choosing a delectable scent will heighten the sensory experience!

My favorite beauty brands: NUDESTIX 

                                          NUDESTIX eye, cheek and lip pencils and storage tins 

I thought I’d start an intermittent series of blogs featuring some of my favorite brands. Today, let’s talk about NUDESTIX — a high-concept company that makes makeup super easy.
The premise behind NUDESTIX is that women can create clean, light looks that don’t appear overly made up. The tool of choice is chubby pencils. In fact, all of the company’s products come in space-saving, simple-to-use and easily transportable chubby-pencil form. We’re talking eye pencils, cheek pencils, contour pencils, correcting pencils, concealing pencils … the list goes on and on.

                                       NUDESTIX Cheek & Lip Pencil in ‘Sin’ 

The NUDESTIX pencils I reach for are the eye and lip products. In fact, one of my go-to eye looks is created with three of the company’s easily blendable bronze-tone eye pencils. My favorite nude lipstick is Whisper. And when I say “favorite nude,” I don’t mean favorite of the NUDESTIX nudes, I mean favorite nude of any shade, any brand.

I mentioned that NUDESTIX are transportable. Each NUDESTIX or NUDESTIX set comes in a cute little storage tin, complete with pencil sharpener. They’re great for travel, but I store my NUDESTIX out of their tins because they’ll fill up a drawer rather quickly.

Anyway, sample a NUDESTIX. I’m glad I did!

From lustworthy to losers 

img_8431

Not so lustworthy after all

Have you ever had a crush that ended in disappointment? Lusted after a guy (or girl) for weeks or months, only to realize the fantasy was better than the reality? I’m pretty sure it happens to all of us at one time or another. When I look back, I realize I had pretty good taste in guys, with the notable exclusions of a couple of losers I dated briefly (very briefly) in college.

Beauty products are similarly lustworthy. Slick packaging, strong word of mouth, beauty gurus’ reviews, company reputations … all of these things conspire to convince us that, yes, we absolutely must have certain makeup, hair care and skin care items.

As the number of my Instagram followers grows and I improve my makeup skills, I receive more and more messages from women saying, “I bought (insert product name) because you like it.” I take those messages seriously; I sincerely don’t want to lead people wrong. While some products work well for certain individuals and others don’t, you can count on me to tell the truth — and here’s the truth about four products from well-known companies:

  • Liz Earle Cleanse & Polish Hot Cloth Cleanser: I used this for a week or so, then shoved it in a drawer. Why? Simple reason: It doesn’t take all of my makeup off, even when I use a micellar water to pre-cleanse.
  • Zelen’s Z Pure Cleansing Balm: It’s not particularly cleansing and it’s not at all balmy. I like my cleansing balms to feel thick and emollient on my face — to have that slippery, sliding, soothing texture. Z Pure fails on all of these points. I’m sticking with Sunday Riley Blue Moon Tranquility Balm, which is heavenly. I also like Jordan Samuel Skin Plié Cleanser.
  • Vichy Idealia Skin Sleep: I love sleeping masks. It’s so luxurious to apply a product that repairs your skin while you sleep. This one, though, didn’t repair my skin. Instead, it left it irritated and red. Surprising, given that I don’t have particularly sensitive skin.
  • Charlotte Tilbury Legendary Lashes: I bought this mascara for two reasons. First, because I have other CT products that I love. Second, because it was getting rave early reviews from some of the YouTubers I follow. Let me be clear: I don’t like this mascara. At all. It leaves big, black smudges of transferred product under my eyes, every time. I don’t have oily skin and this isn’t a common problem for me, so I have to blame the formula.

So there you go. My honest, unfiltered opinions about four products from respected companies. Again, what doesn’t work for me might work for you, but these four items went from lustworthy to losers in my book.

Anyone can do it: An easy, bright makeup look

A lot of my Instagram followers are asking me to start a YouTube site so they can follow step by step as I apply my makeup. I do plan to do it, but so far I haven’t had time to learn to edit video. I will make time soon, I promise!

To tide folks over, I thought I’d provide instructions for the simple look I’m wearing today, which is eye-catching but easy. Here’s the finished version:


So, how do I go from bare faced to ready to go? Here’s how:

1. I always start by applying my primer (Tarte Timeless Smoothing Primer is my current favorite) and my foundation. Here, I’m wearing YSL Touché Eclat — the liquid version.

2. It’s time to conceal. I have under eye blueness, which I hide with a peach-toned cream concealer from Judith August, but you can use whatever brand is your favorite. I go over the peach tone with Tarte’s Rainforest of the Sea liquid concealer. I apply it in a triangle under my eye and blend it into my skin with a damp Beauty Blender sponge. I then set my concealer in place with a light dusting of RCMA No Color Powder, using that same damp sponge.

3. My eyes are next. First, I apply a lid primer to increase lasting power. I usually use Mac’s Paint Pot in Painterly. For the pictured look, I applied white eyeshadow all over my lid, then swept a light beige shadow in a windshield-wiper motion into my crease, just to give my eyes some depth. Any white and beige shadow you have on hand will do. I applied black pencil liner to my top waterline and white to my bottom waterline.  I finished things off with black liquid liner and Red Cherry lashes in Wispy. The liner and lashes are completely optional. If you want, you can go with a nice coating of mascara.

4. With my fingers, I applied liquid bronzer under my cheekbones, at my hairline and just beneath my jawline. This gives your face a bit of contour. The goal is to create natural-looking shadows. Foundation alone can give you a “flat” look; adding bronzer or contour powder returns angles to your face. I went over the liquid bronzer with a powder bronzer for additional depth, but that’s optional.

5. I applied a pretty pink-tinged-with-purple blush to my cheeks, just above where I placed the bronzer. Make sure to blend the edges, as you never want to see a harsh line. In fact, it’s crucial to make sure all of the color products you apply flow seamlessly into one another. Blend, blend, blend!

6. I always leave my lipstick for last. Today I chose a bright pink to go with both my outfit and to offset the gentle shades on my eyes.

7. Spray your face with a setting mist to keep everything in place longer. I like Skindinavia’s Makeup Finishing Spray.

That’s it! You’re ready to head out the door. This is one of my go-to looks because just changing your  lipstick makes it completely different!
Here are some of the products I used:

Foundation: YSL Touché Eclat

Eyes: Rock & Republic White Heat all over lid, beige from Viseart Cashmere Palette, Easy Ride black liner from Ardency Inn (no wing), Red Cherry “Wispy” lashes

Lips: Stila Stay All Day Liquid Lipstick in Amalfi

Blush: Lorac Buildable Blush in Vivid

Bronzer: Bare Minerals Bareskin Sheer Glow, Hourglass Luminous Bronze Light from the Ambient Palette

Let’s talk about your breasts … er, chest

Summer is here in full force — at least in North America — and that means a lot of people are spending time either poolside or at the beach. They’re working on relaxing as well as their tans, and they’re sharing their fun-in-the-sun moments on social media.

Those bronze glows often look perfect from a distance, but if you’re a woman over the age of 40, try enlarging your photo. You might see something like this:

Sun damage on a woman’s chest. (Note: not my chest.) 


Full disclosure: That’s not my chest. It’s the chest of a woman whose skin is prematurely wrinkled due to sun damage. This isn’t even a worst-case scenario. I’ve seen Facebook and Instagram photos of women whose entire chest areas, from armpit to armpit, look wrinkled, dry and — frankly — old.

The truth is that a bronze glow can be gorgeous, but also (in the not-unlikely event of skin cancer) scarring or deadly. As tempting as it might be to bake your way to brown, it’s smarter to slather yourself in sunscreen from forehead to neck to chest. And the higher the SPF, the better. Not only will it protect this delicate area from the sun’s harmful rays, but it will also help keep wrinkles at bay. After all, a wrinkled neck and chest — as well as the sagging skin that’s also a sunshine side effect — are extremely aging. My personal choice when it comes to face, neck and chest protection is Shiseido’s Ultimate Sun Protection Cream, which has an SPF of 50. It hasn’t failed me yet!

My go-to sunscreen: Shiseido’s Ultimate Sun Protection Cream


I personally don’t mind having a peaches and cream (translation: very pale) complexion. But if you can’t face going to the beach or pool with a “ghost tan,” give self-tanners a try. The newest versions are l0ng-lasting, streak-free and minus the distinctive chemical odor that accompanied earlier concoctions. I usually reach for Vita Liberata, which elicits an olive cast instead of the dreaded orange tone.
So remember: Protect your face, neck and chest from premature aging with a powerful sunscreen. Your skin will thank you.

Quick and easy hair options 

My hair is naturally wavy, something I battled with for years. When I was young, I actually liked the texture. I’m a child of the 70s, so I let it grow long and when I used hot rollers, the curl would last forever. The problem came as I grew older. I tried so many hairstyles — even, regrettably, the Dorothy Hamill bob. My hair would look great at the salon, but I could never recreate the look. I’d end up with a wavy mess. (Obviously, I was not adept with hair tools.)

My 70s hair

It took me years to discover that I actually have perfect hair for the scrunch-and-go style. I just take any type of hair mousse, scrunch it into my towel-dried hair and either blow dry or air dry. That’s it. Easy-peasy. (Photo at top left below).

Still, there are times when I want a smoother, straighter look. (Photo at bottom left above.) After years of trial and error, I stumbled across an easy way to get it. I comb Nios Shield Leave-In Conditioner and Marc Anthony Perfect Smoothing Cream through towel-dried hair, then let it sit for awhile, usually while I apply my makeup. Then I finish up with a blow dryer and vented brush. My hair ends up shiny and straight!

If you have wavy or curly hair that leaves you frustrated, try one or both of these easy styling methods!

Five quick tips for taking a good selfie

They say that for every good selfie posted to Facebook and Instagram, there are dozens of nearly identical selfies that didn’t make the cut. That’s pretty much true, unless you learn the angles and lighting tricks needed to get it right the first, second or third time.

Because I do makeup looks of the day for my Instagram account, I take plenty of selfies. (Shameless plug: I’m Makeup_Plus_50 on Instagram.) But it doesn’t take me long to get the photo of the day because I’ve learned these five things:

1. When holding your phone or camera, make sure it’s slightly above eye level. If you have any kind of double chin at all, photos taken straight on or (God forbid) from below chin level will exaggerate the chin issue and also make your face look fatter.

2. Along the same lines, don’t “turtle” your neck by pulling it in. Extend your chin forward a bit to elongate your jawline. Again, this is especially important if you have a double chin or wattle.

3. Know your angles. Our faces aren’t symmetrical, so most of us really do have a better side. Most of my photos are angled toward the right side of my face, which is younger-looking and fuller than the left. However, when I’m going for chiseled and elegant, I shoot from the left side.

4. Find your light. When you get ready to take a photo, look at yourself on your camera screen from several different angles to find the most flattering light. I personally use my front porch for photos. Depending on the time of day, I get the best light while sitting on my front porch steps or by standing at the edge of the front porch, looking toward the sun from just under the edge of the porch roof. I also find that the light varies by time of day: Morning photos have a cooler tone and evening photos have a golden wash.

5. Beware photo touch-up apps.  There are plenty of apps on Android and ITunes that allow you to “clean up” your photos, but don’t go crazy with them. There is nothing wrong with zapping a pimple or an under-eye shadow, but don’t go wild with Photoshop. You want to look like yourself, not like a cartoon version of yourself. And for goodness sake, avoid the apps that allow you to add makeup to your photos. It may look fine in thumbnail-sized photos but it’s obvious and pixilated when the photos are enlarged!

The bottom line is that everyone can take a good selfie if they follow a few simple “rules.” It’s all about angles, light and composition.

Bonus tip: Want your eyes to look great in a selfie? Think about something that makes them come alive. I always pretend my eyes are sending a message to someone I love!